
This post may include affiliate links; see our disclosure policy.
Homemade garlic salt tastes even better than store-bought. Amp up popcorn, avocado toast, and pizza with this easy guide to garlic salt!

I love nothing more than making things from scratch, especially when it’s something as versatile as garlic salt. It’s rewarding, fun, and, no joke, tastes even better than store-bought. This homemade garlic salt also makes a great gift for the home cooks in your life. You know we’re all running low on the stuff. Get ready to try your new favorite seasoning!
How to make garlic salt
Making homemade garlic salt is a very simple process that requires a food processor or high-quality blender, salt, and garlic cloves.
You can control the texture of your garlic salt along the way, too. I leave mine a little chunkier than a standard salt, but you can make it into a fine salt, too. That’s even better for popcorn! It really depends on what you’ll be using it for. I like it anywhere salt belongs. This is a garlic-loving household!
Here are the basic steps for how to make garlic salt at home (or go to the recipe below for specifics):
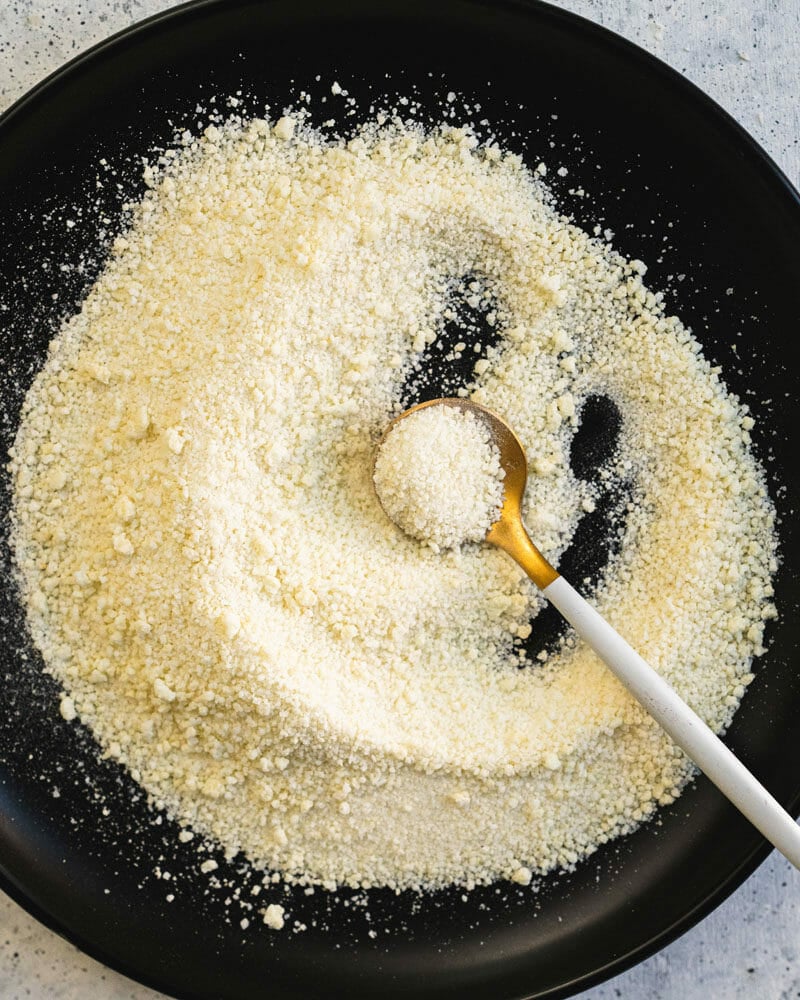
- In a food processor or blender, process ½ cup kosher salt and 6 garlic cloves until the garlic is finely chopped.
- Spread it all onto a baking sheet lined with parchment paper. Bake at 200 degrees for about 45 minutes until the mixture dries out.
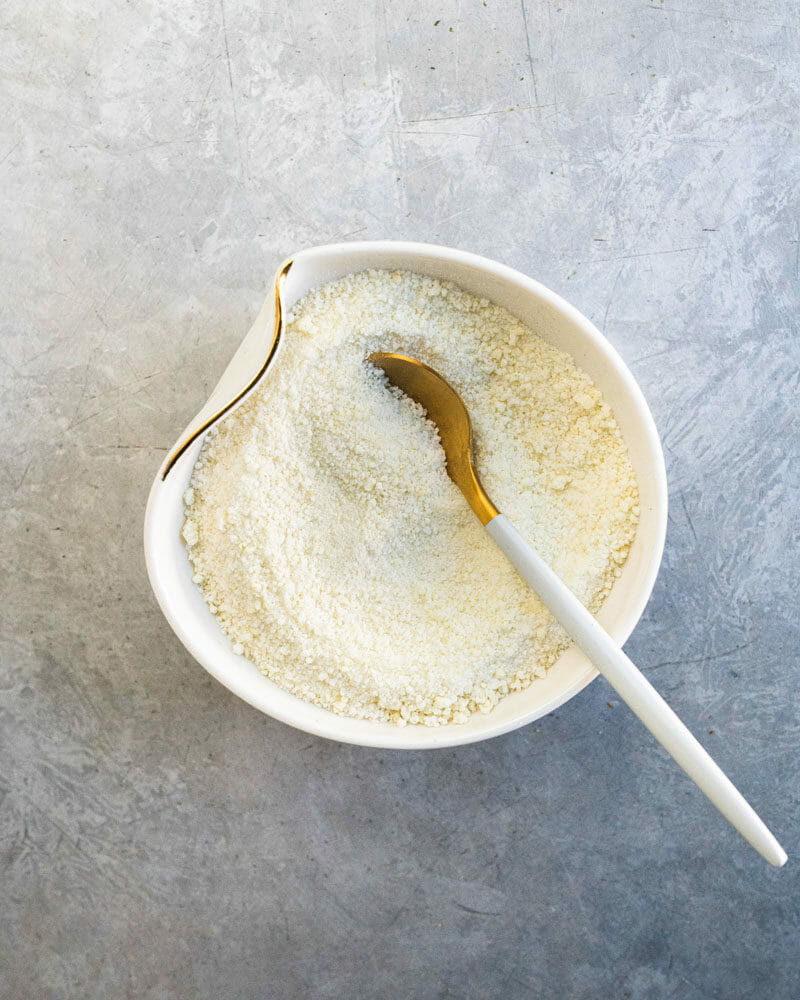
- Once it’s baked, it will clump up and be very chunky. Run it back through the food processor until you get to the desired texture.
A note about kosher salt
Kosher salt brings a gentler salting to foods. I wouldn’t recommend using table salt here (or really, in most of my recipes) because of its sharp, very salty flavor. If you’re interested, I have a whole guide on the differences between different types of salt.
Want to have more fun with salt? Try my Herb Salt Recipe or this Seasoned Salt Recipe.
How to serve garlic salt
You’re all done with your homemade garlic salt. Now what? Treat it as you would any seasoned salt, as it’s more versatile than straight garlic powder. Here are some of my favorite ways to use it:
- On avocado toast or green tomato toast
- On French fries or sweet potato fries
- In olive oil for dipping bread
- On pizza
- On baked salmon
- On popcorn (Just blend it to a fine consistency, like popcorn salt!)
- Mixed with shrimp
- Added to soups and stews
- Shaken onto pasta
- Added to sautéed or roasted veggies
Dietary notes
This garlic salt recipe is vegetarian, gluten-free, plant-based, dairy-free, and vegan.
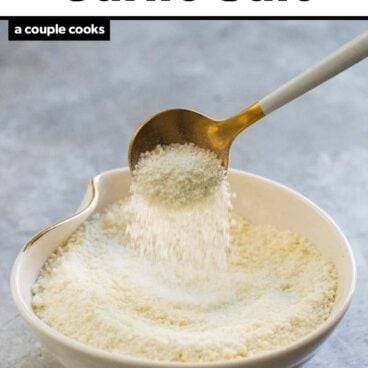
How to Make Garlic Salt

Homemade garlic salt tastes even better than store-bought. Try it to amp up popcorn, avocado toast, and pizza.
- Prep Time: 5 minutes
- Cook Time: 1 hour
- Total Time: 1 hour 5 minutes
- Yield: ½ cup 1x
- Category: Essential Recipes
- Method: Baked
- Cuisine: American
Ingredients
- ½ cup kosher salt or sea salt
- 6 garlic cloves
Instructions
- Preheat the oven to 200 degrees Farenheit.
- Place the peeled garlic cloves and salt in a food processor.
- Process for about 1 minute until the garlic is finely chopped.
- Spread on a baking sheet lined with parchment paper. (This is important; otherwise it will stick!) Bake for about 45 minutes until dry and crumbly.
- Remove from the oven.
- Wash out the food processor.
- Pour the mixture back into the clean bowl of the food processor and pulse several times until the desired consistency forms. (I keep mine a bit chunkier than normal salt.)
- Store in an airtight container at room temperature for up to a year.
More kitchen DIYs
I love sharing my favorite kitchen DIYs! Here are a few more to try:
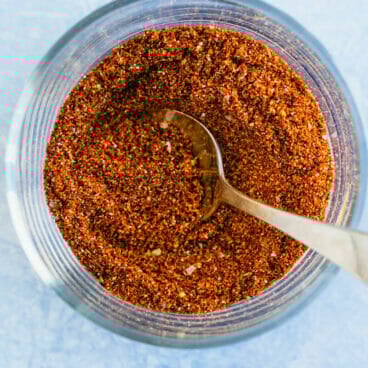
- Try homemade seasoning blends like Everything Bagel seasoning, homemade taco seasoning, or pumpkin pie spice.
- Learn how to make homemade salad dressing.
- Master the pressure cooker with Instant Pot chickpeas, Instant Pot sweet potatoes, or Instant Pot boiled eggs.
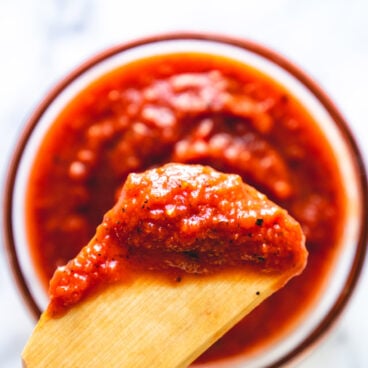
- Learn how to make pizza sauce or tahini sauce.


I want to make roasted garlic salt. Do i have to dry the garlic so its not so mushy first. Asking for a friend.. :)
Interesting idea! I think I’d roast the garlic and proceed as written, but just leave in the oven until fully dried out (so maybe a little longer).
Hello,
I just wanted to say that only one of my batches of my garlic salt did also turned green. I did notice that in this particular batch the very tips of the fresh garlic was green. Maybe when garlic begins to resprout?
It must be!
Hello,
For up to how long does the homemade garlic last?
Up to a year, but the flavor dissipates over time.
My garlic salt mixture turned green in the oven. Is it still good and vould I have simply let it dry on the counter for a few days?
Hi there! We haven’t had this happen before or heard reports of it. However, garlic can turn green when heated! Per this source article from My Recipes, it’s safe to eat green garlic. Also older garlic is more prone to turning colors: so could it be that your garlic was on the old side? Next time we’d suggest trying it with fresh garlic. Thanks for the comment!
What a great idea! Do you know how long the salt will last?
It should last at least 1 year, if not more!
Perfect!
How can I have some of the recipes can I save them.